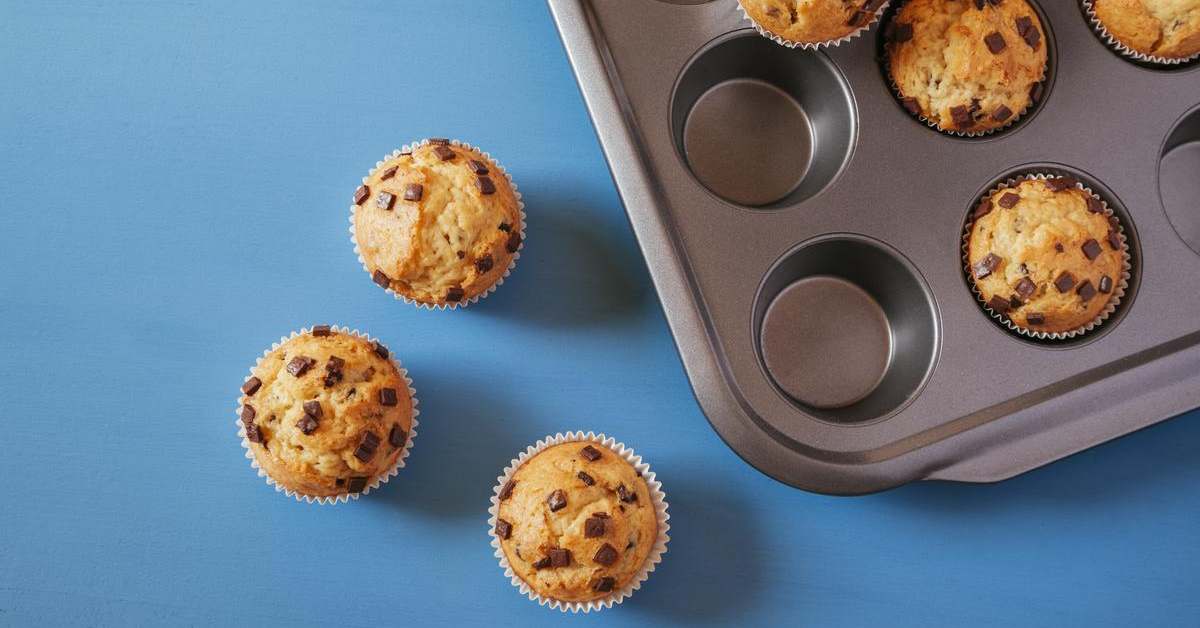
If you’ve ever baked muffins, you know how frustrating it can be to get them out of the tin without making a mess. But fear not! This article will share the most straightforward method to help you effortlessly remove those delicious muffins from the baking tin. Say goodbye to crumbling edges and stuck muffins, and say hello to perfectly intact treats ready to be enjoyed!
What Is Muffin Tins
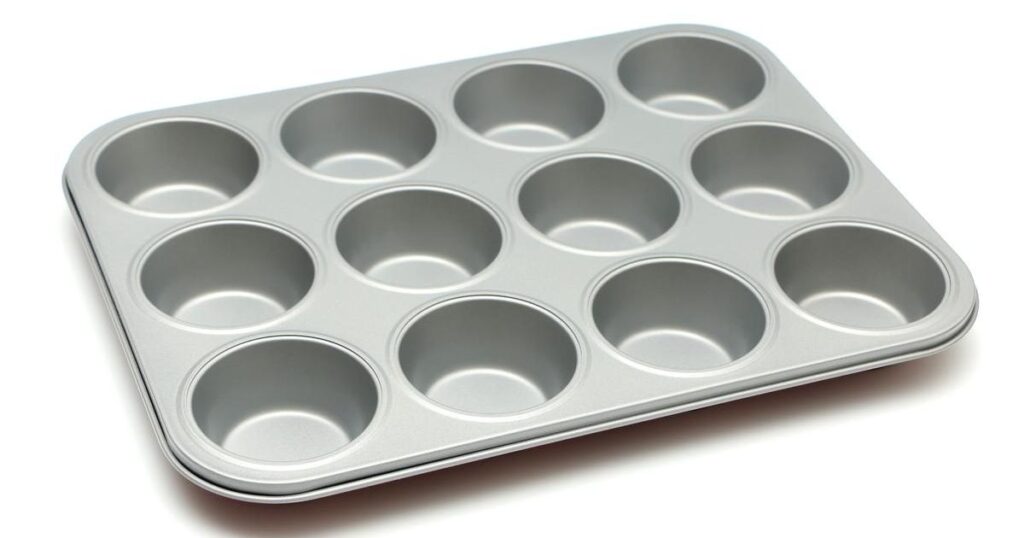
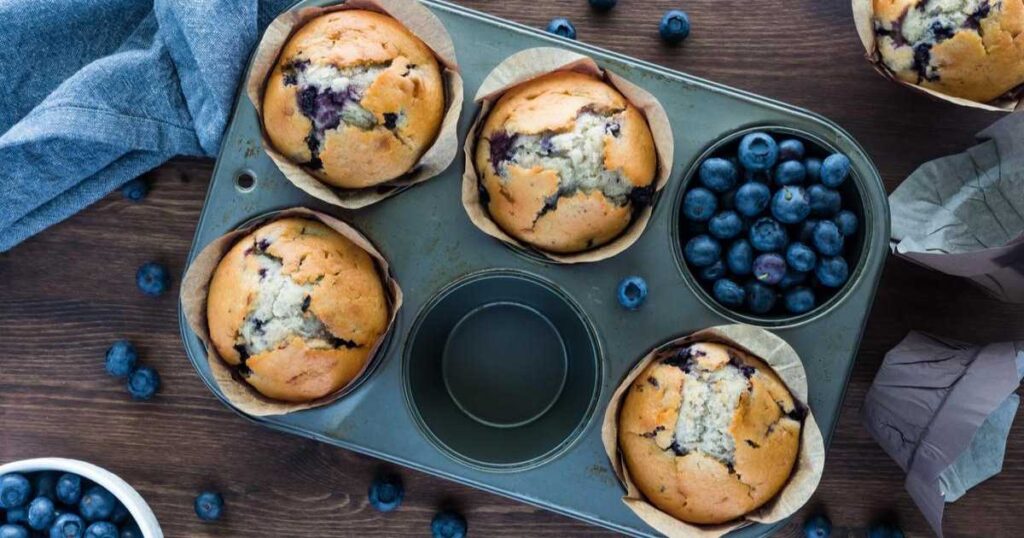
Before we delve into the art of getting muffins out of the tin, let’s start with the basics. A muffin tin, also known as a muffin pan, is a specialized baking tool designed to hold individual portions of batter, creating perfectly shaped and sized muffins.
Typically made of metal, these pans come in various sizes and configurations, with six or twelve muffin cups being the most common.
Muffin tins are widely used for baking cupcakes and other delectable treats. The cups in the pan are usually lined with paper or greased before pouring the batter to prevent sticking and ensure easy removal once the baking process is complete.
Now that we understand what a muffin tin is let’s move on to the exciting part – the foolproof methods for quickly getting those muffins out!
How to Get Muffins Out of Tin
Several straightforward techniques can make the process a breeze when removing muffins from the tin. We’ll explore these methods step-by-step, ensuring your muffins appear intact and picture-perfect.
Additionally, we’ll highlight some common mistakes to avoid, so you can sidestep potential mishaps and achieve muffin liberation success!
Use Non-Stick Spray or Liners: One of the easiest ways to ensure smooth removal is using non-stick cooking spray or muffin liners. Before pouring your muffin batter into the cups, lightly coat the interior with a non-stick spray or place paper liners inside each cup. This simple step creates a barrier that helps prevent sticking, allowing your muffins to slide out effortlessly once baked to perfection.
Let Them Cool Slightly: Patience is vital when removing muffins from the tin. After removing the muffins from the oven, please resist the temptation to remove them immediately. Let them cool in the pan for about 5 to 10 minutes. Cooling allows the structure of the muffins to set, reducing the risk of crumbling or falling apart during removal.
Gentle Loosening with a Knife: For muffins that might be sticking slightly to the edges, take a butter knife or a small offset spatula and gently run it around the sides of each muffin. This loosens any adhering parts and helps create a clean separation between the muffin and the tin.
Lift and Tilt: Once the muffins have cooled slightly and any sticking edges loosened, it’s time for the magical removal. Gently lift the muffin from the bottom with your fingers, then tilt it to one side while supporting the opposite side with your other hand. This rocking motion helps release any potential grip the bottom might have on the cup.
Common Mistakes to Avoid
Over-greasing the Tin: While a non-stick spray or liners are beneficial, excessive Greasing can create a greasy residue on the muffins’ surface and even cause them to slide out too quickly, leading to misshapen muffins.
Immediate Removal: Trying to take the muffins out of the tin immediately after baking can lead to crumbling or the muffins losing their shape. Allow them to cool for a few minutes first.
Using Metal Utensils: While using a knife to loosen muffins is helpful, be cautious not to use sharp metal utensils on non-stick pans, as they may scratch the coating.
Overfilling the Cups: Avoid overloading the muffin cups with batter, as this can cause spillage during baking, making it harder to remove the muffins without damage.
By employing these simple yet effective techniques and steering clear of common pitfalls, you’ll become a pro at flawlessly getting your muffins out of the tin.
Techniques for Removing Muffins
Several tried-and-true techniques can come to your rescue when it comes to liberating your muffins from the tin. Let’s explore these methods in detail, each offering a unique approach to ensure your muffins are free with ease and finesse.
Using a Butter Knife or Offset Spatula: As mentioned earlier, gently slide a butter knife or an offset spatula around the edges of the muffin. This delicate maneuver helps release sticking portions and effortlessly allows the muffin to separate from the cup.
Inverting the Muffin Tin: This technique involves inverting the muffin tin onto a clean surface or a cooling rack. Hold the container securely with oven mitts or kitchen towels, and carefully flip it over, allowing the muffins to drop out of the cups gently. This method works best when the muffins have cooled slightly, ensuring they maintain their shape during the transfer.
Twisting the Muffin Tin: Another handy technique is to give the muffin tin a gentle twist. Place your hand on top of the muffin and your other hand on the bottom of the container, and give it a gentle twist in opposite directions. This motion helps loosen the muffin from the cup and encourages it to release smoothly.
Using a Spoon or Fork: For those who prefer a more hands-on approach, using a spoon or fork can be effective. Slide the edge of a spoon or fork between the muffin and the cup and gently lift and wiggle until the muffin is free.
Tapping the Bottom of the Muffin Tin: A gentle tap on the bottom of the muffin tin can often do the trick if all else fails. Place a clean cloth or kitchen towel on your work surface, hold the container securely, and give it a few gentle taps. The force of the fixtures can help release the muffins from their cups.
Remember, patience and a gentle touch are key, whichever technique you choose. Rushing the removal process may lead to mishaps, and nobody wants to see their beautifully baked muffins crumble into pieces!
Experiment with different methods to find the one that works best for you, and soon you’ll be mastering the art of muffin liberation like a true baking pro!
Alternative Muffin Tin Materials

While traditional metal muffin tins are the go-to choice for most bakers, alternative materials can offer unique benefits and versatility. Let’s explore some alternative muffin tin materials that you might consider incorporating into your baking arsenal:
Silicone Muffin Pans
Silicone muffin pans have gained popularity recently due to their non-stick properties and flexibility. These pans are incredibly easy to use, as muffins effortlessly pop out once they’re done baking. The flexibility of silicone also makes storage a breeze, as they can be easily folded or stacked without taking up much space.
Stoneware Muffin Pans
Stoneware muffin pans distribute heat evenly, resulting in beautifully browned and perfectly cooked muffins. The natural non-stick surface of stoneware pans reduces the need for excessive greasing or liners, making them eco-friendly. However, they might require slight seasoning to enhance their non-stick capabilities before use.
Cast Iron Muffin Pans
For those who appreciate the rustic charm of cast iron cookware, cast iron muffin pans are a fantastic option. While they may take longer to preheat, once adequately heated, they provide excellent heat retention, giving your muffins a delightful texture and flavor.
Glass Muffin Pans
Glass pans are excellent for those who prefer a clear view of their muffins during baking. They are non-reactive and won’t alter the taste of your muffins. However, it’s advisable to use paper liners or lightly grease the glass pans to prevent sticking.
Ceramic Muffin Pans
Ceramic muffin pans come in various beautiful designs and colors, adding a touch of elegance to your baking endeavors. Like stoneware, they heat evenly and can be an attractive addition to your kitchen collection.
When selecting an alternative muffin tin material, consider factors such as ease of cleaning, heat distribution, non-stick properties, and storage options. Each material offers unique characteristics that cater to different baking preferences.
Whether you stick with the traditional metal muffin tin or venture into alternative materials, you will find the perfect fit for your baking needs!
Troubleshooting Muffin Removal
Encountering difficulties while removing muffins from the tin is not uncommon, but fear not! We’ve got you covered with some quick troubleshooting tips to overcome common issues:
Sticking Muffins: If your muffins are sticking to the tin, use non-stick cooking spray or liners before pouring the batter. Additionally, let the muffins cool slightly before attempting removal, which helps them set and reduces sticking.
Crumbling Muffins: Crumbling can happen if you try to remove the muffins too soon or handle them too roughly. Allow them to cool a bit before gently loosening the edges and lifting them out with care.
Muffins Losing Shape: Overfilling the cups can cause spillage and deform the muffins during baking. Ensure you fill the cups to the recommended level to maintain their shape.
Torn Muffins: Using metal utensils on non-stick pans can lead to tears or scratches. Opt for soft utensils like silicone or wood to avoid damaging the pan’s surface.
Excess Grease: Over Greasing the pan can make your muffins greasy. Use a light coating of cooking spray or butter instead of heavy greasing.
Following these simple troubleshooting tips, you’ll bid farewell to removal woes and enjoy flawlessly released muffins every time you bake.
Maintenance and Care
Proper maintenance and care of your muffin tins are essential to ensure their longevity and continued baking success. Follow these simple guidelines to keep your muffin tins in top-notch condition:
Regular Cleaning: After each use, allow the muffin tin to cool before cleaning. Hand wash it with warm soapy water, using a gentle sponge or soft brush to remove any residue. Avoid harsh abrasives or metal scouring pads, which can damage the non-stick coating or alternative materials.
Avoiding Metal Utensils: If you’re using non-stick muffin tins, steer clear of metal utensils when removing the muffins. Opt for silicone, rubber, or wooden tools to preserve the non-stick surface and prevent scratches.
Seasoning Stoneware and Cast Iron: For stoneware and cast iron muffin pans, it’s beneficial to season them occasionally to enhance their non-stick properties. To strengthen, lightly coat the pan with oil and bake it empty in a preheated oven for about an hour.
Storage Considerations: When storing muffin tins, avoid stacking them directly on top of one another, especially if they have a non-stick coating. Place a soft cloth or paper towel between each pan to prevent scratching.
Silicone Care: If using silicone muffin pans, ensure they are scorched before storing them. Moisture can lead to mold growth in silicone pans if not adequately dried.
Inspection: Regularly inspect your muffin tins for signs of wear, such as chipping or peeling in non-stick coatings. If you notice any damage, consider replacing the pan to maintain the quality of your baked goods.
By following these maintenance and care tips, you’ll prolong the life of your muffin tins and ensure consistent and enjoyable baking experiences for years to come.
Frequently Asked Questions (FAQs)
How long should muffins cool before removing them from the pan?
Allow your freshly baked muffins to cool in the pan for 5 to 10 minutes. This brief cooling period allows the muffins to set and firm up slightly, making them easier to remove without falling apart.
Why do muffins stick to the tin?
Muffins may stick to the tin for a few reasons. One common cause is insufficient greasing or not using non-stick liners, which creates a barrier between the muffin and the container. Overcooking can also lead to sticking, as the edges may become too dry and adhere to the pan.
Should you take the muffins out of the tin to cool?
Yes, after allowing the muffins to cool in the pan for a few minutes, it’s best to transfer them to a wire rack to cool completely. Cooling on a wire rack prevents the muffins from becoming soggy due to trapped steam in the pan and helps maintain their texture.
How long do you leave muffins in the tin after baking?
As mentioned, let the muffins cool in the tin for approximately 5 to 10 minutes. After this initial cooling period, transfer them to a wire rack to cool completely.
What is the best way to prepare muffin tins?
To ensure easy removal, the best way to prepare muffin tins is by using non-stick cooking spray or lining each cup with paper liners. Lightly coat the interior of the cups before pouring the batter to prevent sticking and to achieve ideally released muffins.
Conclusion
Getting muffins out of the tin can be a manageable task. With the proper techniques and patience, you can effortlessly remove your delectable creations without mishaps. Using non-stick spray or liners, allowing the muffins to cool slightly, and employing gentle removal methods are crucial to achieving picture-perfect muffins.
Additionally, considering alternative muffin tin materials and maintaining proper care will ensure your baking adventures remain enjoyable for years. Armed with these tips and tricks, you’re now ready to create a delightful array of muffins that are not only delicious but also beautifully presented. Happy baking!