Welcome to the ultimate guide to using a Dutch oven for deep frying! You’ve come to the right place if you’re a food enthusiast or a cooking fan. In this comprehensive guide, we will explore the wonders of Dutch ovens and how they can be a game-changer for deep frying.
Whether you’re a seasoned chef or a beginner in the kitchen, we will take you through everything you need to know to achieve crispy, delicious results every time. From choosing the right Dutch oven to mastering the art of temperature control, get ready to elevate your deep-frying skills to new heights in 2023. Let’s dive in!
Why Use a Dutch Oven for Deep Frying
Deep frying is an art that requires precision and the right equipment to achieve perfect results. When choosing the ideal tool for deep frying, a Dutch oven stands out as a top contender. But why should you consider using a Dutch oven for deep frying? There are several compelling reasons.
Firstly, Dutch ovens are known for their excellent heat retention capabilities. Made from heavy-duty cast iron, they distribute heat evenly, ensuring consistent cooking temperatures throughout the cooking process. This means your food will be perfectly cooked, with a crispy exterior and tender interior.
Secondly, a deep and wide Dutch oven allows for ample oil capacity. This means you can fry larger batches of food at once, making it an ideal choice for gatherings or when you have a hungry crowd to feed. Moreover, the high walls of the Dutch oven prevent oil splatters, providing a safer and cleaner frying experience.
Additionally, Dutch ovens come with a tight-fitting lid that helps trap heat and moisture, creating a controlled cooking environment. This is especially beneficial for deep frying, as it helps seal in flavors and prevents excessive oil absorption, resulting in lighter and less greasy fried foods.
Lastly, a Dutch oven is a versatile kitchen tool for various cooking methods, including braising, stewing, and baking. So, investing in a Dutch oven means you’re not limited to deep frying; you can explore various culinary possibilities.
Choosing the Right Dutch Oven for Deep Frying
When it comes to deep frying, selecting the right Dutch oven is crucial for achieving optimal results. With various options available in the market, it’s essential to consider a few critical factors before purchasing. Here’s a guide to help you choose the perfect Dutch oven for your deep frying adventures.
Size Matters:
The size of the Dutch oven is an important consideration. Depending on your cooking needs, you’ll want to select a size that can accommodate the quantity of food you typically fry. A larger Dutch oven with a higher oil capacity would be ideal if you often cook for a large family or host gatherings. However, a more compact size might suffice if you primarily cook for smaller groups.
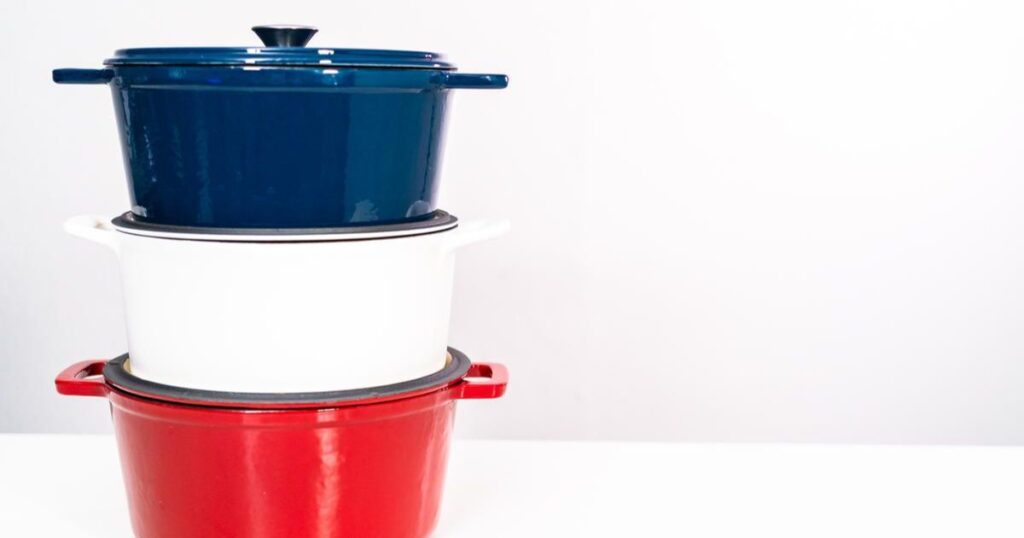
Material and Construction:
Dutch ovens come in different materials, including cast iron, stainless steel, and enameled cast iron. Cast iron Dutch ovens are known for their excellent heat retention but require Seasoning and maintenance. Stainless steel options offer durability and are easier to clean. Enameled cast iron combines the benefits of both materials, providing heat retention and a non-reactive cooking surface. Consider your preferences and cooking style when choosing the material.
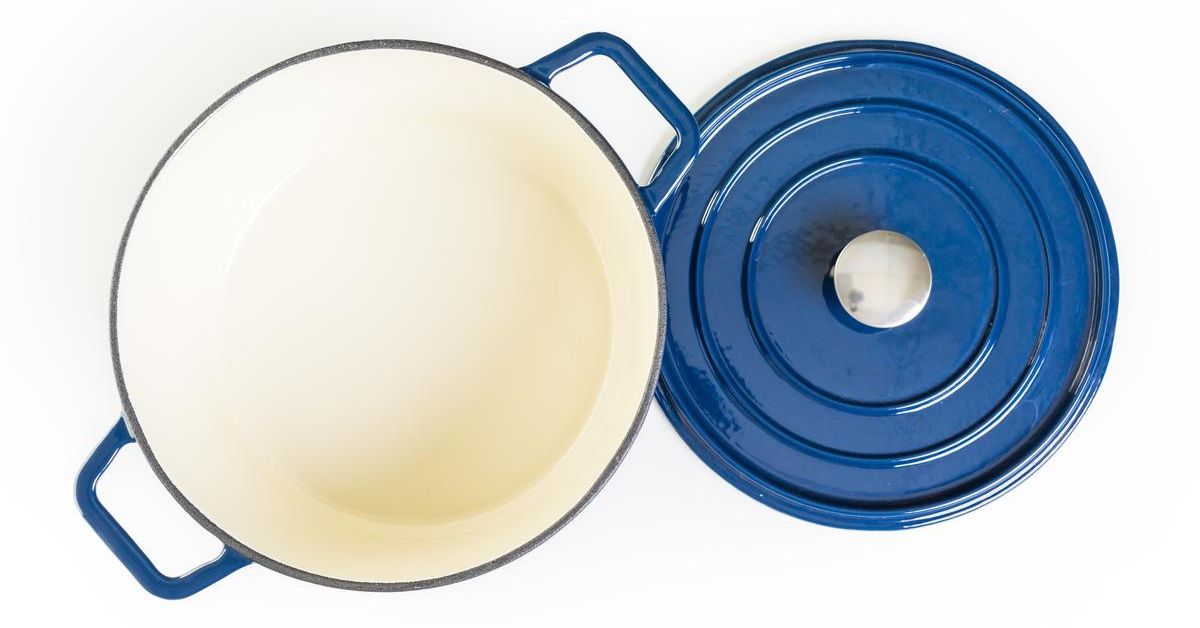
Handles and Lid:
Pay attention to the handles and lid design of the Dutch oven. Sturdy and heat-resistant handles are essential for safe handling, especially when dealing with hot oil. Additionally, a tight-fitting lid helps retain heat and moisture during deep frying, enhancing the cooking process.
Compatibility with Stovetops and Ovens:
Check if the Dutch oven is compatible with your stovetop and oven. Most Dutch ovens work well on gas and electric stovetops, but not all are suitable for induction cooktops. Similarly, ensure the Dutch oven is oven-safe if you plan to finish cooking or keep your fried dishes warm in the oven.
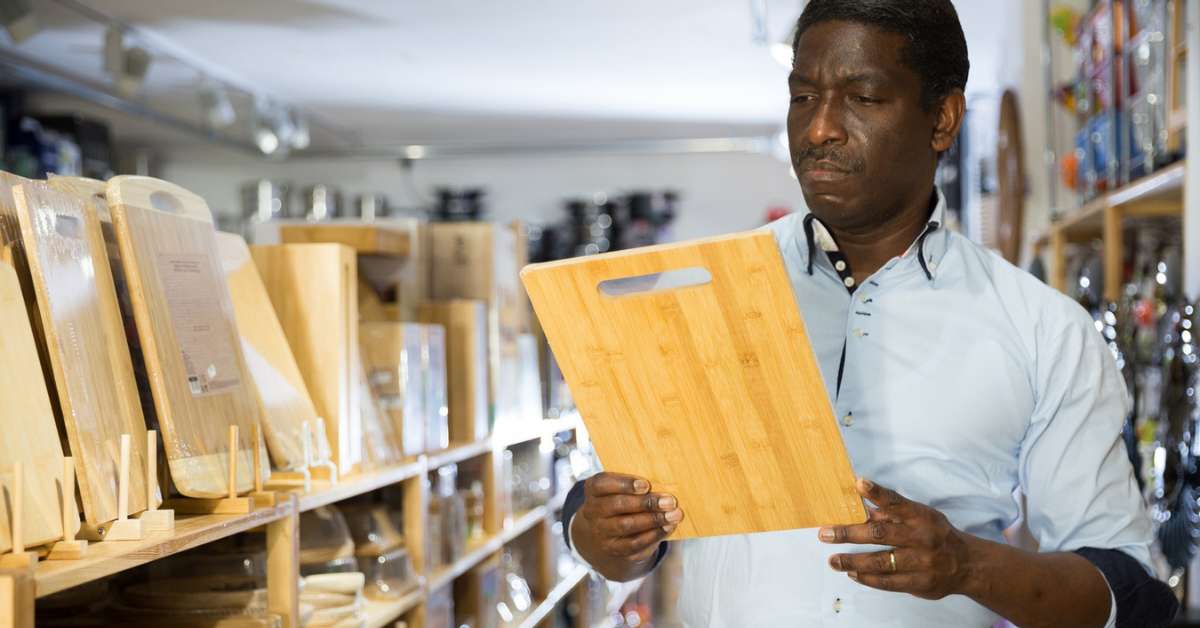
Brand and Reviews:
Consider reputable brands known for their quality Dutch ovens. Read customer reviews and feedback to gain insights into the product’s performance, durability, and overall satisfaction. This will help you decide and select a Dutch oven that meets your expectations.
Considering these factors, you can choose a Dutch oven that aligns with your deep frying needs. Investing in a high-quality Dutch oven will enhance your cooking experience and pave the way for deliciously fried treats.
Preparing the Dutch Oven for Deep Frying
Before you embark on your deep frying journey with a Dutch oven, it’s crucial to properly prepare the equipment to ensure safety and optimal cooking results. Follow these essential steps to get your Dutch oven ready for deep frying.
Clean and Dry:
Start by thoroughly cleaning your Dutch oven. Remove any dust, dirt, or residue from the surface. Use warm water, mild dish soap, and a non-abrasive sponge or cloth to scrub the interior and exterior of the pot gently. Rinse it well and dry it thoroughly to prevent water from mixing with the hot oil during frying.
Seasoning (If Required):
If you’re using a cast iron Dutch oven, it may require seasoning to create a non-stick surface and prevent rusting. Follow the manufacturer’s instructions for seasoning or re-seasoning your Dutch oven. Typically, this involves applying a thin layer of cooking oil to the interior and heating it at a specific temperature for a particular duration. Seasoning helps enhance the durability and performance of your Dutch oven.
Select the Right Oil:
Choosing the right oil is crucial for deep frying. Opt for oils with high smoke points, such as vegetables, peanuts, or canola. These oils can withstand high temperatures without breaking down and imparting unwanted flavors to your food. Avoid oils with low smoke points, like olive oil or butter, as they can burn and smoke during deep frying.
Fill the Dutch Oven:
Once your Dutch oven is clean and dry, it’s time to add the oil. Fill the Dutch oven with enough oil to submerge the food you’ll be frying. Be mindful of the oil’s capacity, ensuring it doesn’t overflow when added food. Leave some space at the top to prevent oil splatters when submerging food.
Heat Control:
Place the Dutch oven on the stovetop over medium heat. Use a deep-fry or candy thermometer to monitor the temperature of the oil. A temperature range of 350-375°F (175-190°C) is recommended for most deep-frying recipes. Adjust the heat as needed to maintain a consistent temperature throughout frying.
Test the Oil:
Before adding your food, it’s essential to test the oil temperature. Gently drop a small piece of bread or a cube of breaded food into the oil. If it starts sizzling and turns golden brown within 1-2 minutes, the oil is ready for frying. If it browns too quickly or slowly, adjust the heat accordingly and wait for the oil to reach the desired temperature.
By following these steps, you’ll ensure that your Dutch oven is adequately prepared for deep frying. A clean and well-seasoned Dutch oven, combined with the correct oil and controlled heat, sets the stage for successful deep-frying adventures.
Preparing the Food for Deep Frying
Now that your Dutch oven is ready, it’s time to focus on preparing the food for deep frying. Properly preparing the ingredients ensures even cooking, maximum flavor, and a crispy texture. Follow these steps to get your food ready for a delicious deep-frying experience.
Dry the Ingredients:
Before you start frying, make sure the ingredients are dry. Excess moisture on the surface of the food can cause the hot oil to splatter and lead to uneven frying. Use paper towels or a clean kitchen towel to dry the ingredients, such as meats, vegetables, or seafood, before coating them with batter or breading.
Season and Marinate:
Add flavor to your fried dishes by seasoning or marinating the ingredients. Sprinkle them with your favorite seasonings, herbs, or spices to enhance the taste. For meats, consider marinating them in a mixture of spices, herbs, and liquids for added tenderness and flavor. According to your recipe, allow the ingredients to marinate for the recommended duration.
Coat with Batter or Breading:
Coat the ingredients with a suitable batter or breading to achieve a crispy and golden exterior. You can use a tempura or beer batter for a light, airy coating. Alternatively, opt for a breadcrumb or flour-based breading for a thicker and crunchier coating. Dip each piece of ingredient into the batter or dredge it in the breading, ensuring it is evenly coated on all sides.
Resting Time:
After coating the ingredients, it’s essential to let them rest briefly. This resting time allows the batter or breading to adhere better to the ingredients, resulting in a more uniform and crispy texture. Place the coated ingredients on a wire rack or a plate and let them sit for 10-15 minutes before frying.
Fry in Batches:
Avoid overcrowding the Dutch oven by frying the food in batches. Overcrowding can lower the oil temperature and lead to greasy results. Carefully place a few pieces of the prepared ingredients into the hot oil, ensuring they are submerged but not touching each other. Fry them until they turn golden brown and reach the desired level of crispiness. Remove the fried pieces with a slotted spoon or tongs, allowing any excess oil to drain.
Drain and Rest:
After frying, transfer the cooked food to a plate lined with paper towels. The paper towels absorb excess oil, helping to maintain the crispy texture. Allow the fried food to rest for a few minutes before serving. This resting time allows the flavors to settle and the heat to distribute evenly, ensuring a delightful eating experience.
By following these steps, you’ll ensure that your ingredients are prepared optimally for deep frying. Combining dry ingredients, well-seasoned coatings, and proper resting times contributes to perfectly fried dishes with a satisfying crunch.
How to Deep Fry with a Dutch Oven
Deep frying with a Dutch oven can seem daunting, but you can achieve crispy and delicious results with the proper techniques. Follow these step-by-step instructions to master the art of deep frying with a Dutch oven.
Preheat the Oil: Begin by preheating the oil in your Dutch oven. Place the Dutch oven on the stovetop over medium heat. Pour the desired amount of oil into the pot, ensuring it covers the food you’ll be frying. Use a deep-fry or candy thermometer to monitor the oil temperature. Heat the oil to the recommended temperature specified in your recipe or between 350-375°F (175-190°C) for most deep-frying purposes.
Test the Oil Temperature: To ensure the oil has reached the desired temperature, perform a quick temperature test. Gently drop a small piece of bread or a cube of breaded food into the oil. If it starts sizzling immediately and turns golden brown within 1-2 minutes, the oil is ready for frying. If the bread browns too quickly or slowly, adjust the heat accordingly and wait for the oil to reach the desired temperature before proceeding.
Carefully Add the Food: When the oil reaches the correct temperature, carefully add the prepared food to the Dutch oven. Lower the food into the hot oil using a slotted spoon or tongs to avoid splatters. Be mindful not to overcrowd the pot, which can cause the oil temperature to drop and result in greasy food. Fry the food in batches, allowing each piece enough space to cook evenly.
Maintaining the Oil Temperature: A consistent oil temperature is essential throughout frying. Adjust the heat to keep the oil within the recommended temperature range. Avoid drastic temperature fluctuations, as this can affect the texture and quality of the fried food. Monitoring the oil temperature with a thermometer and making minor adjustments will help you achieve optimal results.
Flip and Rotate: Once the food is in the oil, periodically flip and rotate the pieces for even browning and cooking. Use tongs or a slotted spoon to turn the food to the other side carefully. This ensures that all sides of the food receive equal heat, resulting in a uniform golden color and crispness.
Cook to Perfection: The cooking time will vary depending on the type and size of the food you’re frying. Follow the recipe guidelines or use visual cues to determine when the food is perfectly cooked. Look for a golden brown color and a crispy texture. Avoid overcooking, as it can lead to dryness and loss of flavor. Remove the cooked food from the oil using a slotted spoon or tongs, allowing any excess oil to drain.
Drain and Serve: Transfer the fried food to a plate lined with paper towels to absorb excess oil. This helps maintain the desired crispiness. Allow the food to rest for a few minutes before serving to ensure the flavors settle and the heat distributes evenly. Serve your delicious deep-fried creations while they’re still hot, and enjoy!
Following these step-by-step instructions, you’ll become adept at deep frying with a Dutch oven. Mastering the oil temperature, adding the food carefully, and cooking to perfection will result in delectable fried dishes that will impress your family and friends.
How to Clean a Dutch Oven After Deep Frying
Cleaning a Dutch oven after deep frying is essential to maintain its quality and prolong its lifespan. The process involves removing excess oil, cleaning the inside of the Dutch oven, and restoring the Seasoning if necessary. Follow these steps to clean your Dutch oven after deep frying effectively.
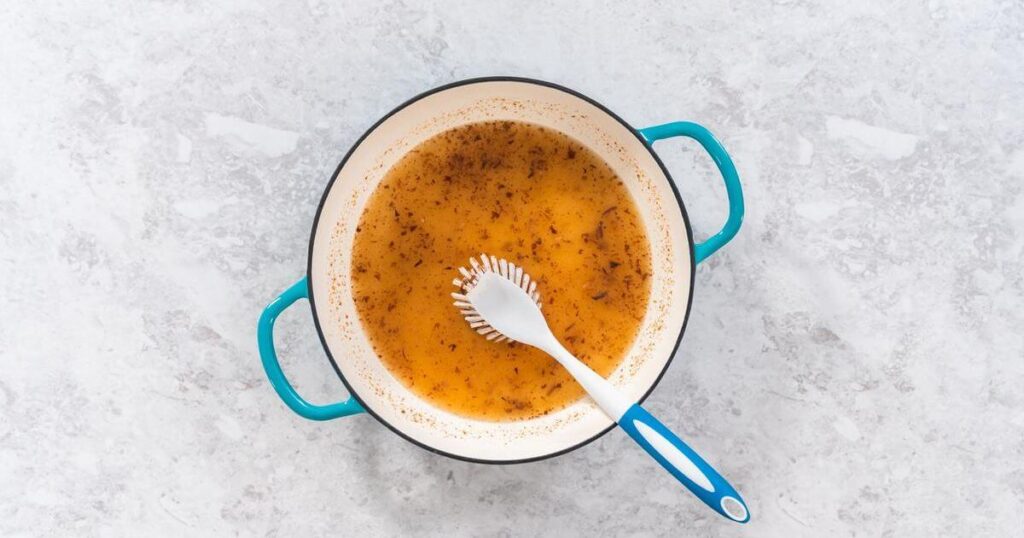
Removing Excess Oil:
Start by removing as much excess oil as possible from the Dutch oven. Carefully pour the remaining oil into a heat-resistant container, leaving any food particles or debris behind. Wipe the interior of the Dutch oven with paper towels or a clean cloth to soak up the excess oil. Dispose of the oil properly according to local regulations.
Cleaning the Inside of the Dutch Oven:
After removing the excess oil, it’s time to clean the inside of the Dutch oven. Fill the Dutch oven with warm water and add a small amount of mild dish soap. Use a non-abrasive sponge or cloth to gently scrub the interior, paying attention to any stubborn residue or stuck-on food. Avoid harsh scrubbing pads or abrasive cleaners, as they can damage the Seasoning or enamel coating, if applicable.
Restoring the Seasoning (if applicable):
If you’re using a cast iron Dutch oven and notice that the Seasoning has been affected by the deep frying process, it’s essential to restore it. Scrub the Dutch oven with coarse salt and warm water to do this. The salt acts as a gentle abrasive to remove any buildup or residue. Rinse the Dutch oven thoroughly, ensuring all the salt is removed. Dry it thoroughly with a clean cloth or place it over low heat on the stovetop to evaporate any remaining moisture.
Drying and Storing:
Once the Dutch oven is clean and dry, it’s crucial to prevent moisture buildup to avoid rusting. Place a clean cloth or paper towel inside the Dutch oven to absorb moisture. Store the Dutch oven in a dry and well-ventilated area to ensure proper air circulation. If necessary, lightly coat the interior with a thin layer of cooking oil to help maintain the Seasoning and prevent rust.
Following these steps, you can effectively clean your Dutch oven after deep frying. Removing excess oil, cleaning the inside of the Dutch oven, and restoring the Seasoning if applicable will help maintain the quality and longevity of your Dutch oven. Your Dutch oven will serve you well in your culinary adventures with proper care.
Dutch Oven Care and Maintenance
Proper care and maintenance of your Dutch oven are crucial for its longevity and optimal performance. Whether you use it for deep frying or other cooking methods, following these care guidelines will ensure that your Dutch oven remains in excellent condition for years.
Seasoning Maintenance: A cast iron Dutch oven requires periodic Seasoning to maintain its non-stick surface and prevent rust. After each use, clean the Dutch oven using warm water and mild dish soap, if needed. Avoid using harsh scrubbers or abrasive cleaners that can strip away the Seasoning.
Once clean, dry the Dutch oven thoroughly and apply a thin layer of cooking oil to the interior and exterior surfaces. This helps protect against moisture and rust. Place the Dutch oven upside down in an oven preheated to 350°F (175°C) for about an hour to allow the oil to polymerize and create a protective coating. Repeat this seasoning process as needed to maintain the Seasoning.
Avoid Drastic Temperature Changes: Avoid exposing your Dutch oven to drastic temperature changes to prevent cracking or warping. Allow it to cool naturally before immersing it in water or transferring it from a hot stovetop to a cold surface. Sudden temperature fluctuations can damage the Dutch oven and affect its performance.
Hand Washing Preferred: It is generally recommended to hand wash your Dutch oven rather than using a dishwasher. Dishwashers can subject the Dutch oven to harsh chemicals and high heat, which may degrade the Seasoning or enamel coating. Clean the Dutch oven using warm water, mild dish soap, and a non-abrasive sponge or cloth. Dry it thoroughly to prevent moisture-related issues.
Proper Storage: When storing your Dutch oven, ensure it is scorched to avoid rusting. Place a paper towel or a clean cloth inside to absorb any moisture. Store the Dutch oven in a cool, dry place with adequate ventilation. If stacking multiple Dutch ovens, place a paper towel or a silicone mat between them to prevent scratching or chipping.
Regular Inspection: Inspect your Dutch oven for any wear, damage, or rust. If you notice any issues, address them promptly. For cast iron Dutch ovens, re-seasoning may be necessary if the Seasoning has worn off or become damaged.
Following these care and maintenance tips, you can keep your Dutch oven in excellent condition and enjoy its cooking benefits for years. Proper seasoning maintenance, avoiding temperature shocks, hand washing, proper storage, and regular inspections are vital to preserving the quality and longevity of your Dutch oven.
Frequently Asked Questions
Can you use a Dutch oven for deep frying on a gas stove?
Yes, a Dutch oven can be used for deep frying on a gas stove. The heavy-duty construction of Dutch ovens, such as those made of cast iron, allows them to withstand high heat, making them suitable for deep frying on a gas stove.
Can a Dutch oven be used for deep-frying?
Yes, a Dutch oven can be used for deep frying. Its deep and comprehensive design and excellent heat retention make it an ideal choice for deep frying various foods.
Can you use a Dutch oven like a frying pan?
While a Dutch oven and a frying pan serve different purposes, you can use a Dutch oven similarly to a frying pan. However, due to its larger size and deeper walls, a Dutch oven may require more oil and be better suited for frying larger batches of food.
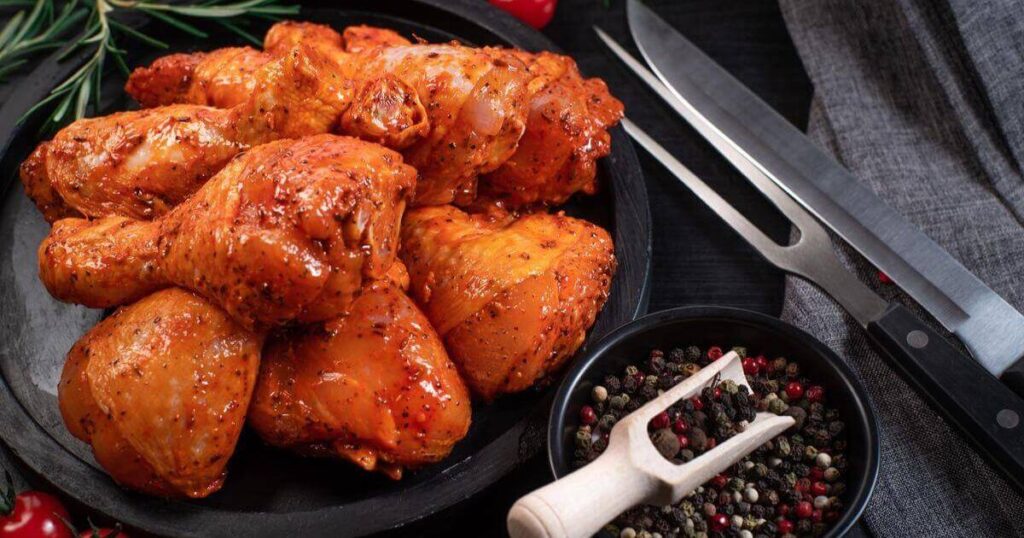
Can you deep fry chicken in a Dutch oven?
Absolutely! A Dutch oven is an excellent tool for deep frying chicken. Its heat retention and ample capacity make it suitable for achieving crispy and juicy fried chicken.
Is a work better than a Dutch oven for deep-frying?
A wok and a Dutch oven can be used for deep frying, but they have different characteristics. A wok is designed for stir-frying with sloping sides, allowing quick and efficient cooking. On the other hand, a Dutch oven’s deeper walls and excellent heat retention make it better for frying larger batches of food and maintaining consistent temperatures throughout the frying process. Choosing between a wok and a Dutch oven for deep frying depends on personal preference and specific cooking needs.
Conclusion
Using a Dutch oven for deep frying is a game-changer in the kitchen. Its excellent heat retention, generous oil capacity, and safety features make it ideal for achieving crispy and delicious results. You can elevate your deep-frying skills by following the step-by-step instructions for preparing the Dutch oven, preparing the food, deep frying, and cleaning and maintaining the Dutch oven.
Whether frying chicken, vegetables, or other delectable treats, a Dutch oven is a versatile tool to help you create mouthwatering dishes. With proper care and attention, your Dutch oven will continue to be a reliable companion in your culinary adventures for years to come. Happy deep frying!