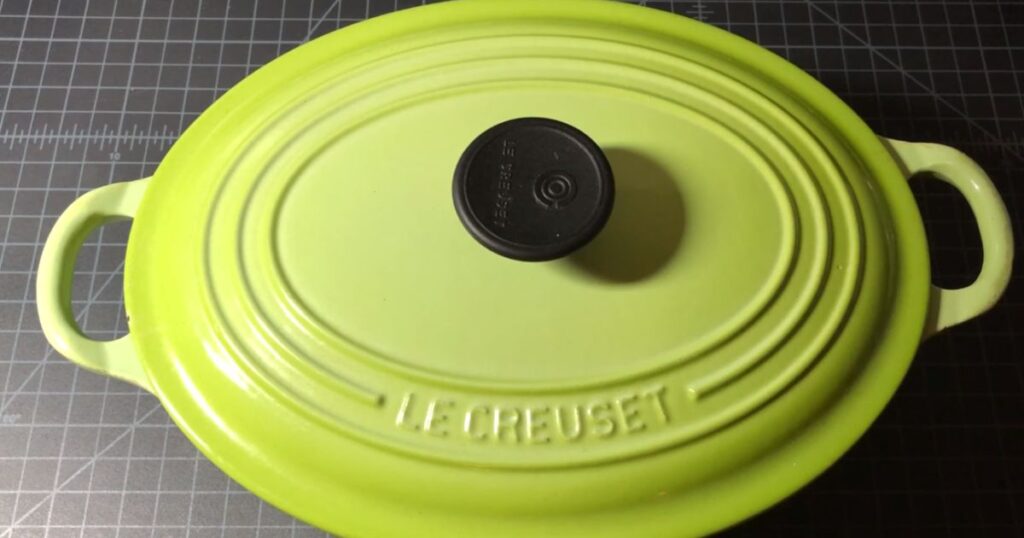
Are you struggling with a chipped enamel Dutch oven? Don’t worry; you’re not alone. A Dutch oven is an essential tool in any kitchen, as it can be used for various cooking tasks, including braising, stewing, and baking. However, when the enamel chips, it can be frustrating and even dangerous to use. That’s why it’s essential to know how to fix chipped enamel on your Dutch oven.
In this ultimate guide, we will explore the importance of a Dutch oven in the kitchen, why fixing chipped enamel is necessary, and what you can expect from this guide. So, let’s get started and learn how to restore your Dutch oven to its former glory!
Understanding Enamel and How It Chips
Enamel is a coating made of powdered glass applied to metal, ceramic, or glass surfaces. It is a popular choice for cookware as it provides a non-stick surface and is easy to clean. However, enamel can chip, affecting the appearance of your cookware and even rendering it unsafe to use.
Understand how to fix chipped enamel on your Dutch oven; it’s essential to know why it’s chipping in the first place. Enamel can chip due to a variety of reasons, including:
Impact: Dropping or hitting the Dutch oven against a hard surface can cause the enamel to chip.
Thermal shock: Transferring a heated Dutch oven to a cold surface, for example, might cause the enamel to expand and compress, leading to chipping.
Metal utensils: Metal utensils on enamel-coated cookware can scratch and chip the surface.
Handle your Dutch oven with caution to avoid enamel chipping in the future. Here are some pointers:
Use silicone or wooden utensils: These are gentle on enamel-coated cookware and won’t scratch the surface.
Avoid sudden temperature changes: Allow your Dutch oven to cool before washing or transferring to a different surface.
Store carefully: Stack your cookware carefully and avoid stacking anything heavy on your Dutch oven.
By taking these preventative measures, you can extend the life of your Dutch oven and prevent enamel chipping.
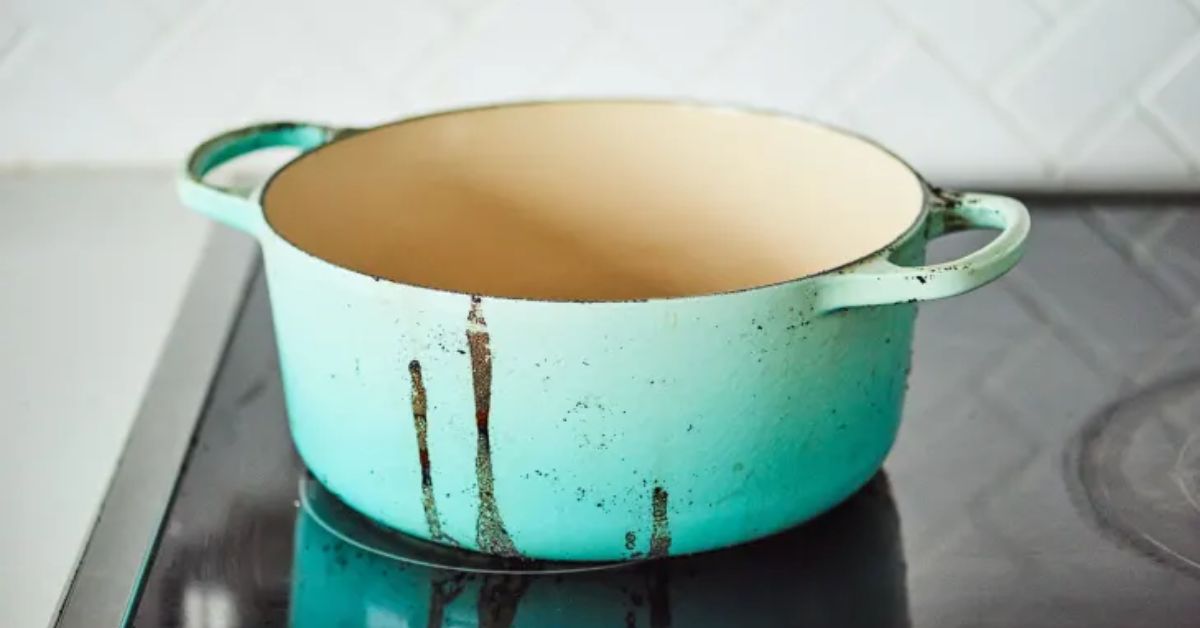
Assessing the Damage of Your Chipped Enamel Dutch Oven
Before you can begin to fix a chipped enamel Dutch oven, you need to assess the damage to determine the severity of the chip and if it’s possible to fix it. Here are the steps to inspect a chipped enamel Dutch oven:
Clean the Dutch oven: Start washing it with warm soapy water and drying it thoroughly. This will ensure that you can see the chip.
Inspect the chip: Look at the chipped area and assess the damage. Is it a small chip or a larger one? Is the metal underneath exposed?
Run your finger over the chip: If it is rough or has sharp edges, smooth it before proceeding with the repair.
Determine if it’s possible to fix: Based on the size and severity of the chip, determine if it’s possible to fix the enamel. If the chip is too large or the metal underneath is exposed, fixing it may not be possible.
By assessing the damage before beginning the repair process, you can determine if it’s possible to fix the chipped enamel Dutch oven and avoid wasting time and effort on an impossible repair.
If the chip is small and the metal underneath is not exposed, you can fix it using the steps outlined in the next section.
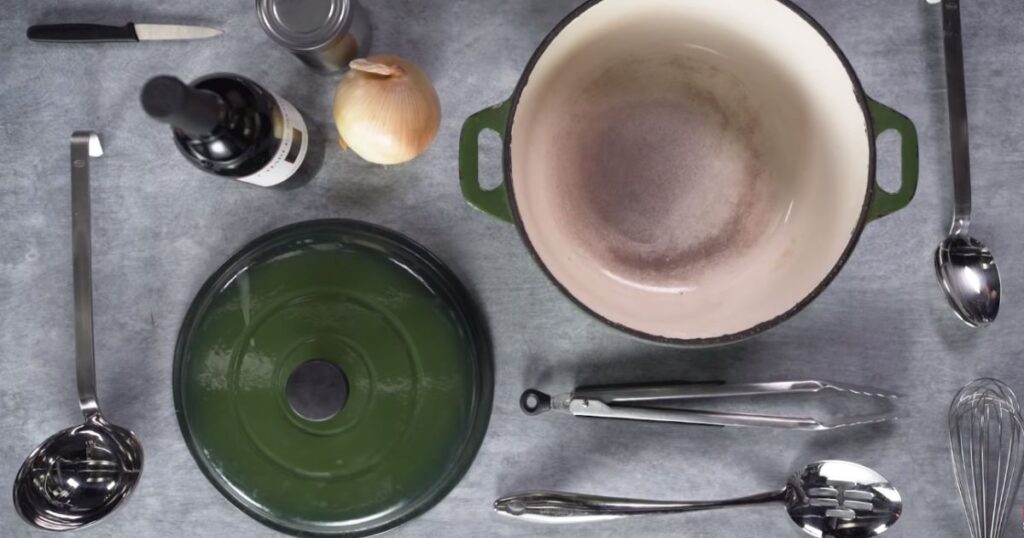
Which Tools and Materials Will You Need
To fix a chipped enamel Dutch oven, you will need the following tools and materials:
- Fine-grit sandpaper: You will need sandpaper to smooth rough edges around the chipped area.
- Epoxy: Epoxy is a two-part adhesive that fills the chipped area.
- Enamel paint: You will need enamel paint to match the color of your Dutch oven.
- Paintbrush: Use a small paintbrush to apply the enamel paint to the chipped area.
It’s essential to use high-quality materials when repairing chipped enamel. Using cheap or low-quality materials can result in a repair that doesn’t last or looks unprofessional.
Make sure to choose an epoxy specifically designed for use with enamel, and choose an enamel paint that matches the colour of your Dutch oven as closely as possible. Using suitable materials will ensure a seamless repair and a Dutch oven that looks as good as new.
How to Prepare Your Dutch Oven for Repair
Before you repair your chipped enamel Dutch oven, you must prepare it for the repair process. Here are the steps to follow:
Clean the Dutch oven: Wash it with warm soapy water and dry it thoroughly. Make sure to remove any food residue or grease from the chipped area.
Sand the chipped area: Use fine-grit sandpaper to smooth out any rough edges around the chipped area. This will ensure that the epoxy and enamel paint adhere properly.
Dry the Dutch oven: Allow the Dutch oven to air dry completely. Ensure no moisture is left on the surface before you begin repairing it.
Handle the Dutch oven safely: Handle it carefully since it will be hot from the cleaning process. Use oven mitts or a thick towel to avoid burning your hands.
By preparing your Dutch oven properly for the repair process, you can ensure that the repair is successful and the Dutch oven looks as good as new. Following these steps will also help prevent any safety issues from handling a hot Dutch oven.
The Repair Process of Chipped Enamel Dutch Oven
Now that your Dutch oven is prepared for repair, it’s time to start the repair process. Here is a step-by-step guide:
- Mix the epoxy: Follow the manufacturer’s instructions to mix the two-part epoxy.
- Apply the epoxy to the chipped area: Using a small brush or spatula, apply the epoxy to the chipped area. Make sure to fill in the chipped area completely.
- Smooth the epoxy: Use a spatula or your finger to smooth it out and level it with the surrounding enamel.
- Let the epoxy dry: The epoxy will dry entirely according to the manufacturer’s instructions.
- Sand the repaired area: Once the epoxy is dry, use fine-grit sandpaper to smooth out any rough edges around the repaired area.
- Clean the surface: Wipe down the surface with a damp cloth to remove any dust or debris.
- Apply enamel paint: Using a small brush, apply the enamel paint to the repaired area. Make sure to cover the area entirely and let it dry completely.
For minor chips, you can follow these steps to repair them. You may need to repeat the process multiple times for larger chips until the chipped area is filled.
Let the epoxy and enamel paint dry completely before handling the Dutch oven.
Curing and Finishing the Dutch Oven
After the repair process is complete, you will need to cure and finish your Dutch oven. Here’s how to do it:
Explain the curing process: Curing is hardening the epoxy and enamel paint by baking the Dutch oven in the oven.
Prepare the Dutch oven for curing: Preheat your oven to the temperature recommended by the epoxy and enamel paint manufacturers. Place the Dutch oven in the oven and bake it for the recommended time.
How to finish the Dutch oven after curing: Once it is done, remove it from the oven and let it cool down completely. Wipe down the surface with a clean cloth to remove any residue from the curing process. You can also apply a thin layer of oil to the inside and outside of the Dutch oven to prevent rusting.
Following these steps, you can ensure your Dutch oven is fully cured and ready for use. The oil coating will also help to protect your Dutch oven from rust and other forms of damage.
Tips for Maintaining Your Dutch Oven
Once you have fixed your chipped enamel Dutch oven, taking good care of it is vital to prevent future damage.
Caring for your Dutch oven after repair
After repairing your Dutch oven, handling it with care is essential. Avoid using metal utensils on the surface, and always clean them gently with a soft sponge or cloth.
How to prevent future enamel chipping
To prevent future enamel chipping, use your Dutch oven properly. Avoid overheating it or exposing it to extreme temperature changes. Also, avoid dropping or banging it, which can cause chips and cracks.
Storing and handling your Dutch oven correctly
When storing your Dutch oven, stack it carefully to avoid scratching or chipping the surface. You can also store it with a layer of paper or cloth in between to prevent scratches. Always use oven mitts or potholders when handling your Dutch oven to avoid burning yourself.
You can keep your Dutch oven in excellent condition for years. A well-maintained Dutch oven can be a valuable tool in your kitchen, perfect for creating delicious stews, soups, and other hearty dishes.
Conclusion
Fixing a chipped enamel Dutch oven is essential to maintain its functionality and longevity. Various factors can cause enamel chipping, but repairing the damage at home with the right tools and materials is possible.
By assessing the severity of the chip and following the proper repair steps, you can restore your Dutch oven to its original condition.
In this guide, we have covered everything you need to know about how to fix chipped enamel Dutch oven, from understanding enamel and its common causes of chipping to the tools and materials required for repair and tips for maintaining your Dutch oven after repair. We encourage you to repair your Dutch oven at home and enjoy using it for many years.
Frequently Asked Questions
Can I still use a chipped enamel Dutch oven?
A chipped enamel Dutch oven is not recommended because the chipped areas can harbour bacteria and potentially contaminate your food.
How long will the repair last?
The repair can last long if done correctly and with care. However, it may not be as durable as the original enamel and require touch-ups over time.
Is repairing enamel expensive?
The cost of repairing enamel depends on the extent of the damage and whether you choose to do it yourself or hire a professional. DIY kits can be affordable, while professional repair services may be more expensive.
Can I fix enamel chips without professional help?
Yes, it is possible to fix enamel chips yourself using DIY repair kits. However, achieving a good result may require some skill and patience.