Are you ready to embark on a flavorful culinary adventure? Look no further than this step-by-step guide on how to cook chitterlings in a slow cooker. Chitterlings, also known as chitlins, are a beloved Southern delicacy that can be intimidating to prepare.
However, with the help of your trusty slow cooker, you can achieve tender, succulent chitterlings without the hassle. In this article, we’ll take you through each stage of the cooking process, from cleaning and prepping to seasoning and slow cooking. Get your apron on, and let’s dive into the world of chitterlings!
What Are Chitterlings
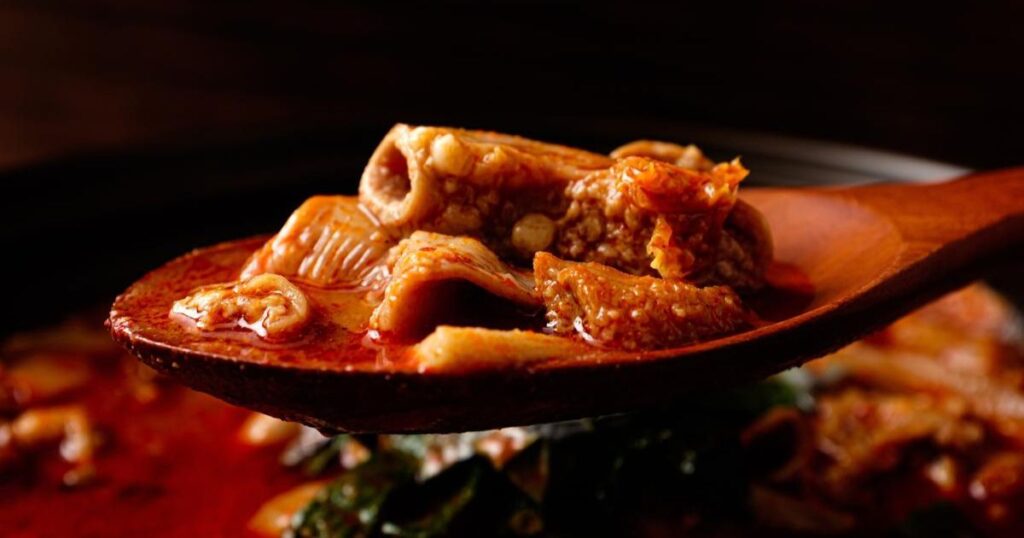
Chitterlings’ distinct taste and texture sets them apart from other dishes. When cooked properly, they become tender and develop a delightfully earthy flavor that is highly sought after. While they may not be for everyone, those who appreciate the unique character of chitterlings find them to be a culinary treasure.
Advantages of Using a Slow Cooker to Cook Chitterlings
When cooking chitterlings, using a slow cooker brings many advantages. Firstly, the slow cooker allows for a gentle and gradual cooking process, ensuring the chitterlings become tender and flavorful without losing their natural juices. This method also eliminates the need for constant monitoring, allowing you to set it and forget it while the flavors meld together.
Another advantage is that the slow cooker helps reduce any potential strong odors associated with cooking chitterlings. The sealed environment of the slow cooker traps the aromas, preventing them from permeating your entire kitchen. This is especially beneficial if you have concerns about lingering smells.
Additionally, using a slow cooker provides convenience and flexibility. You can start the cooking process in the morning and let it simmer throughout the day, allowing the flavors to develop fully. This frees up your time and enables you to attend to other tasks while the slow cooker works magic.
How to Prepare the Chitterlings
Sourcing the Chitterlings:
Before you begin the preparation process, it’s crucial to ensure you have fresh and high-quality chitterlings. You can typically find them at local butcher shops or specialty markets. Purchasing chitterlings from a reputable source is recommended to guarantee their freshness and cleanliness.
Cleaning and Washing the Chitterlings:
Once you have your chitterlings, cleaning them thoroughly to remove impurities is crucial. Start by rinsing them under cold running water, ensuring that you remove any debris or residue. Then, place the chitterlings in a large bowl or sink filled with water and add a generous amount of salt. Gently massage them to help remove any remaining impurities.
Soaking the Chitterlings Overnight:
After cleaning, it’s time to soak the chitterlings overnight. Transfer them to a clean bowl and cover them with cold water. Add a splash of vinegar or lemon juice to help further remove any potential odors. Cover the bowl and refrigerate it overnight. Soaking the chitterlings not only helps to tenderize them but also aids in reducing any remaining solid odors.
Preparing the Chitterlings for Cooking:
The next day, drain the chitterlings and rinse them again under cold water. At this point, you can trim off any excess fat or tough membranes if desired. Some prefer to leave a small amount of fat for added flavor. Once trimmed, pat the chitterlings dry using paper towels. They are now ready to be cooked in the slow cooker, where they will be transformed into a mouthwatering dish.
How to Set Up the Slow Cooker
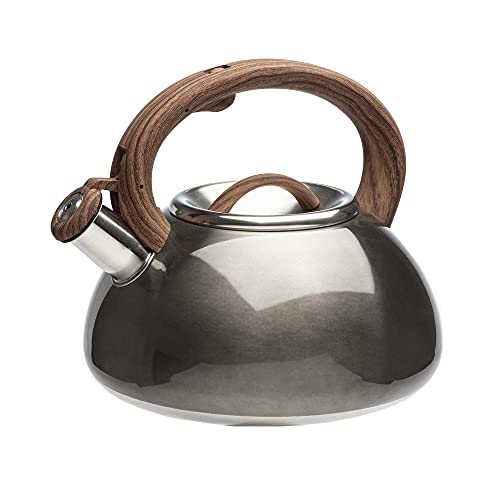
Choosing the Right Slow Cooker:
Selecting the right slow cooker for cooking your chitterlings is essential to ensure optimal results. Consider the size of your chitterlings and the capacity of the slow cooker. Ideally, you want a slow cooker that is large enough to accommodate the chitterlings comfortably, allowing for proper circulation of heat and flavors.
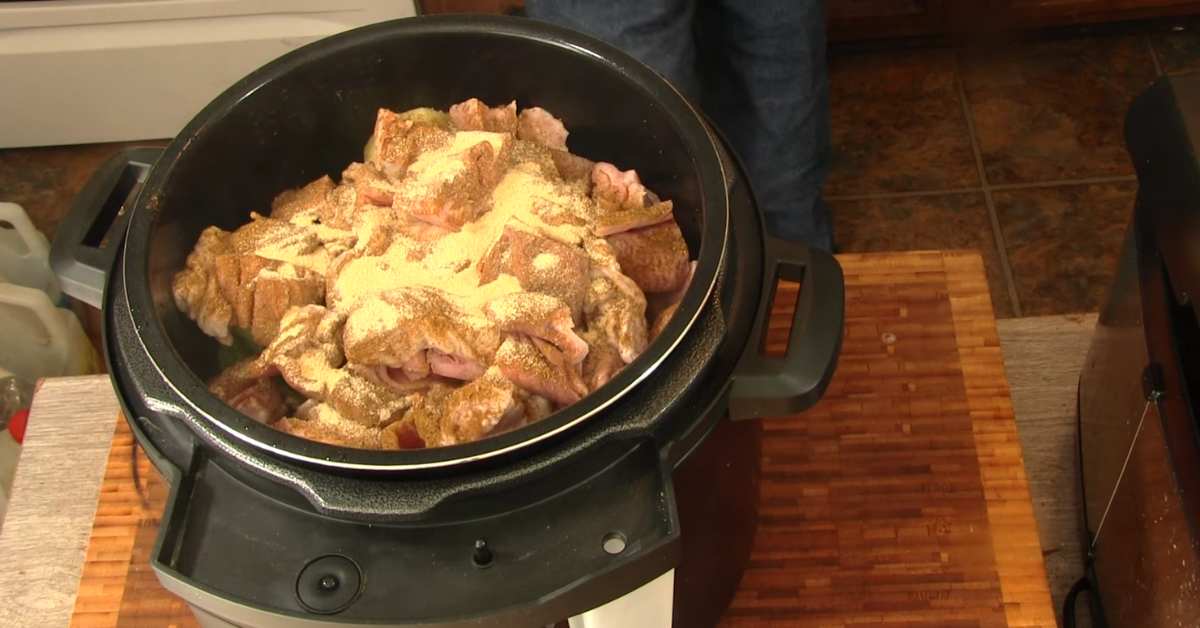
Adding the Necessary Ingredients to the Slow Cooker:
To enhance the flavor of your chitterlings, it’s time to add the essential ingredients to the slow cooker. Start by placing the prepared chitterlings into the slow cooker, ensuring they are evenly distributed. Next, add your preferred seasonings, such as onions, garlic, bay leaves, and a sprinkle of black pepper. You can also add a small amount of broth or stock to provide moisture during cooking.
Setting the Correct Temperature and Time for Cooking:
Now that the chitterlings and seasonings are in the slow cooker, setting the temperature and cooking time is time. Cooking chitterlings on the low setting is recommended to allow for a slow and gentle simmer. This will help tenderize the chitterlings and allow the flavors to meld together. The cooking time can vary depending on the quantity of chitterlings and your desired level of tenderness. As a general guideline, chitterlings can take 6 to 8 hours on low heat.
It’s important to note that each slow cooker may vary in temperature and cooking time, so it’s advisable to refer to the manufacturer’s instructions for specific guidance. During the cooking process, resist the temptation to open the slow cooker frequently, which will cause heat loss and may result in longer cooking times.
You can also read the following: Grilled vs Baked Chicken: Which is the Better Choice for You
How to Cook Chitterlings in a Slow Cooker
Now that you have set up your slow cooker and prepared the chitterlings, it’s time to cook them to perfection. Follow this step-by-step guide to ensure a delightful chitterlings dish that will tantalize your taste buds.
Step 1: Periodic Stirring
Throughout the cooking process, it’s essential to stir the chitterlings periodically. This helps distribute the flavors evenly and prevents them from sticking to the sides or bottom of the slow cooker. Gently stir the chitterlings using a spoon or tongs, ensuring all parts are exposed to heat and moisture.
Step 2: Monitoring the Tenderness
As the chitterlings cook, keep an eye on their tenderness. You can periodically check their texture by carefully piercing them with a fork. The chitterlings should be tender and easily break apart when cooked to perfection. If they are still tough, continue cooking for additional time until the desired tenderness is achieved.
Step 3: Adjusting the Seasonings
Taste the cooking liquid from time to time to assess the flavors. At this stage, you can adjust the seasonings to suit your preferences. Add a pinch of salt, a dash of pepper, or any additional spices you feel would complement the dish. Adding more seasoning gradually is always easier than overpowering the flavors with excessive spices.
Step 4: Allowing for Resting Time
Once the chitterlings have reached the desired tenderness and the flavors, they have melded together, allowing them to rest in the slow cooker for a while before serving is recommended. This resting time allows the chitterlings to absorb the flavors further, resulting in a more flavorful and satisfying dish.
Step 5: Serving and Enjoying
Now comes the moment you’ve been waiting for – serving and savoring your slow-cooked chitterlings. Transfer the cooked chitterlings to a serving dish using a slotted spoon, allowing any excess liquid to drain away. You can serve them as a main dish alongside your favorite sides, such as cornbread, collard greens, or macaroni and cheese. Embrace the rich flavors and enjoy the culmination of your cooking journey.
With this step-by-step guide, you can prepare and cook chitterlings in a slow cooker. The tender, succulent results will leave you and your guests craving more. Happy cooking and bon appétit!
Finishing Touches

As you near the end of your chitterlings cooking adventure, there are a few finishing touches you can add to elevate the dish even further. These final steps will add a touch of freshness and visual appeal to your slow-cooked chitterlings.
Garnishing with Fresh Herbs:
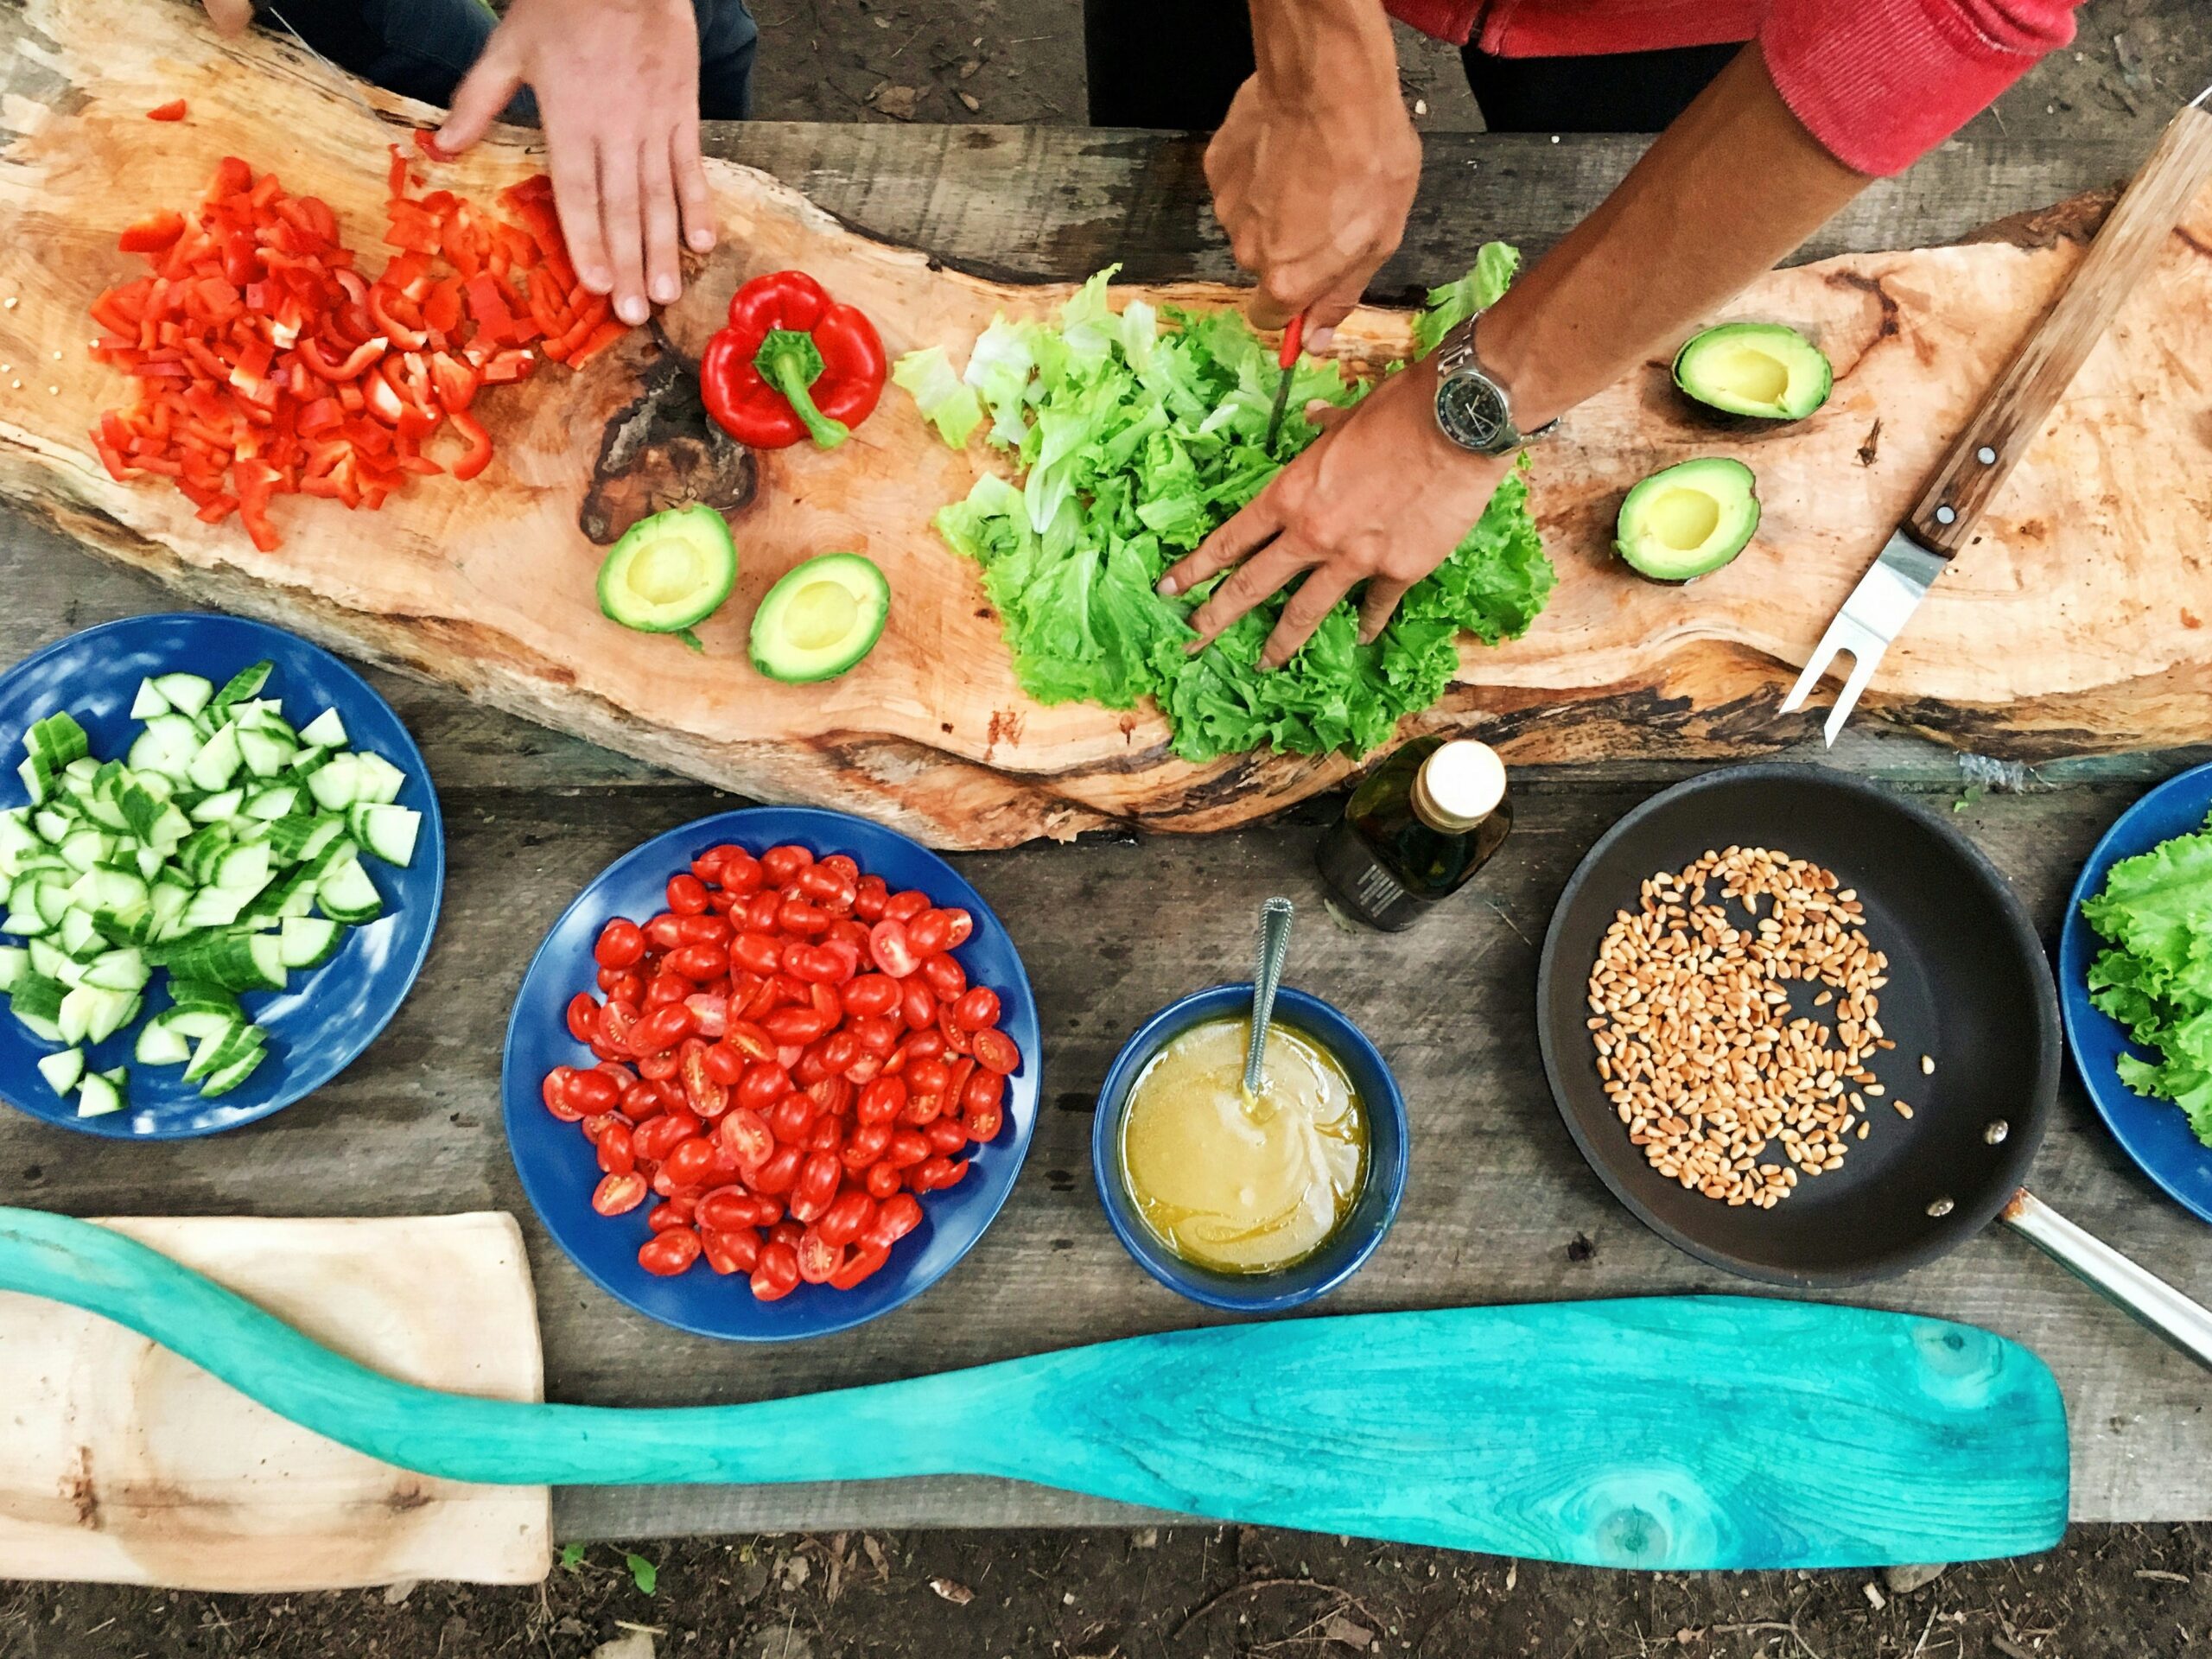
Consider garnishing your chitterlings with fresh herbs to bring a pop of color and flavor. Finely chop some parsley, cilantro, or green onions and sprinkle them over the dish before serving. The vibrant green hues and aromatic notes of the herbs will provide a delightful contrast and enhance the overall presentation.
Serving with a Squeeze of Citrus:
For a bright and tangy twist, squeeze a splash of citrus juice over the chitterlings before serving. Lemon or lime juice works wonders in cutting through the richness and adding a refreshing zing. The acidity of the citrus will balance out the flavors and awaken your taste buds.
Pairing with a Sauce or Condiment:
Consider serving your chitterlings with a side of sauce or condiment to complement their savory nature. A tangy barbecue sauce, a zesty hot sauce, or a homemade chutney can add complexity to each bite. Experiment with different flavors and find the perfect accompaniment to suit your preferences.
Presenting on a Bed of Greens:
For an elegant and visually appealing presentation, serve your chitterlings on a bed of fresh greens. Arrange a handful of crisp lettuce leaves or baby spinach on a serving platter, then place the chitterlings on top. This not only adds a pop of color but also provides a refreshing contrast to the rich flavors of the dish.
With these finishing touches, your slow-cooked chitterlings will be transformed into a visually stunning and flavor-packed culinary masterpiece. Take a moment to appreciate the artistry and effort of creating this delightful dish.
Now that you’ve reached the end of your chitterlings cooking journey, it’s time to gather your loved ones, sit down, and savor each mouthwatering bite. Enjoy the fruits of your labor and revel in the satisfaction of creating a genuinely remarkable Southern delicacy.
Tips for Perfect Chitterlings Every Time
Consider the following tips and tricks to ensure your chitterlings are always perfect. From selecting the right chitterlings to checking for doneness, these guidelines will help you achieve mouthwatering results.
Choosing the Right Chitterlings:
When it comes to chitterlings, quality matters. Choose chitterlings from a trusted
source, ensuring they are fresh and properly cleaned. Look for chitterlings that have been thoroughly processed, are free from excess fat, and have a clean appearance. This will set the foundation for a delicious result.
Preparing the Chitterlings Properly:
Proper preparation is critical to achieving tender and flavorful chitterlings. Take the time to clean and rinse the chitterlings, removing any impurities thoroughly. Soaking them overnight in water with a splash of vinegar or lemon juice helps to tenderize them further and remove any lingering odors. Additionally, trimming excess fat and drying them before cooking helps ensure optimal texture.
Using the Right Slow Cooker:
Investing in a good-quality slow cooker is crucial for achieving consistent and even cooking. Choose a slow cooker that fits your needs in terms of capacity and functionality. Ensure it has a reliable temperature control feature, allowing for slow, gentle cooking. This will help break down the collagen in the chitterlings and result in a tender end product.
Adding the Right Amount of Seasoning and Flavorings:
Seasoning is essential to bring out the best flavors in your chitterlings. Use a balanced combination of herbs such as onions, garlic, bay leaves, and black pepper. However, be mindful not to overpower the natural flavors of the chitterlings. Add seasonings gradually and taste as you go, adjusting to your preference. Adding more seasoning later is more accessible than undoing an overly seasoned dish.
Checking the Chitterlings for Doneness:
Properly cooked chitterlings should be tender and easily break apart. Periodically check for doneness by gently piercing them with a fork. If they are still tough, continue cooking for additional time until they reach the desired tenderness. Avoid overcooking, as it can result in mushy chitterlings. Regular monitoring and testing will help you achieve the perfect balance of texture and love.
By following these tips, you’ll be well-equipped to create consistently delicious and perfect chitterlings every time. Enjoy the process, experiment with flavors, and embrace this beloved Southern delicacy’s rich heritage and flavors.
Frequently Asked Questions (FAQs)
How do you cook chitterlings without the smell?
You can try a few techniques to minimize the smell while cooking chitterlings. Soaking the chitterlings overnight in water with vinegar or lemon juice helps reduce odor. Adding aromatics like onions, garlic, or bay leaves during cooking can also help mask unpleasant smells. Additionally, ensuring proper ventilation in your kitchen and using air fresheners or open windows can help disperse the scent.
Do you have to remove the membrane from chitterlings?
While it’s not mandatory, many prefer removing the tough membrane from chitterlings to improve their texture. The membrane can be challenging and chewy, so removing it allows for a more enjoyable eating experience. However, some individuals leave a small membrane intact for added flavor. It ultimately depends on personal preference.
How do you know when chitterlings are done?
Testing their tenderness is the best way to determine if chitterlings are done. Take a fork and gently pierce the chitterlings. They are likely cooked to perfection if tender and easily break apart. If they are still tough or chewy, they need more cooking time. It’s important to periodically check their texture to avoid overcooking, which can result in mushy chitterlings.
What’s the fastest way to clean chitterlings?
Cleaning chitterlings can be time-consuming, but there are a few tips to expedite it. Start by rinsing them under cold water to remove debris. Then, fill a sink or large bowl with water, add salt, and massage the chitterlings to loosen any remaining impurities. Rinse them thoroughly, repeating the process if necessary. Using a kitchen brush can help remove stubborn debris. Remember to trim excess fat and dry them before cooking.
How long does it take for chitterlings to get done?
The cooking time for chitterlings can vary depending on various factors, including the quantity and tenderness of the chitterlings. As a general guideline, cooking chitterlings in a slow cooker on low heat can take around 6 to 8 hours. However, it’s essential to periodically check their tenderness using a fork and adjust the cooking time to achieve the desired texture.
How do I store leftover chitterlings?
If you have leftover chitterlings, let them cool down to room temperature. Transfer them to an airtight container and refrigerate them within two hours of cooking. Leftover chitterlings can be refrigerated for up to 3 to 4 days. To reheat, gently warm them in a pan over low heat, stirring occasionally. Avoid reheating chitterlings multiple times, affecting their texture and flavor.
Conclusion
Cooking chitterlings in a slow cooker can be a rewarding and flavorsome experience. With the proper preparation, choice of ingredients, and cooking techniques, you can create tender and delicious chitterlings that will satisfy your taste buds. Remember to source high-quality chitterlings, properly clean and soak them, and choose a suitable slow cooker for even cooking.
Pay attention to the seasonings and flavors, and check for doneness by testing the tenderness. By following these steps and incorporating your personal touch, you’ll be able to enjoy a delectable Southern delicacy that will leave a lasting impression on your palate. Embrace the rich heritage of chitterlings and savor every bite with joy and appreciation.